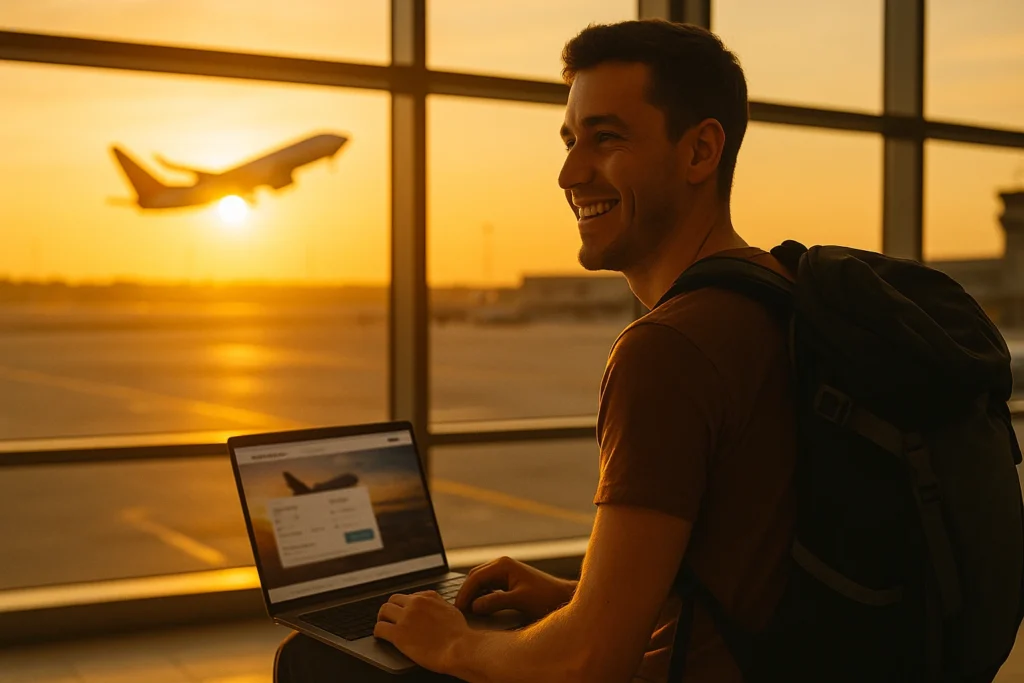
My first night in Lisbon, I was wedged into a bottom bunk in a 10-person dorm, listening to someone above me rearrange a plastic bag for 40 minutes, and I genuinely thought: why did I do this to myself?
It took two more trips, a lot of trial and error, to figure out that the discomfort wasn’t an inevitable part of backpacking. It was a planning failure. Nobody had taught me how to build a trip that didn’t drain me.
What follows is what I wish I’d had before that Lisbon trip: not “just go and figure it out,” but an actual system for traveling independently and comfortably, without blowing your budget on things that don’t matter. Five steps covering planning, itinerary, accommodation, packing, and budget — plus the mistakes that quietly ruin first trips. This is a complete set of backpacking tips for beginners built around comfort, not survival mode.
Want the full framework behind this approach? The luxury backpacking system covers how to combine comfort, smart routing, and selective upgrades into a repeatable travel method.
Table of Contents
- What Backpacking Actually Means Now
- Step 1: Build Your Trip Foundation
- Step 2: Build a Comfort-First Itinerary
- Step 3: Accommodation Strategy
- Step 4: Pack for Comfort, Not Minimalism Theater
- Step 5: Budget Without Feeling Cheap
- Backpacking Comfort Calculator
- Beginner Mistakes That Quietly Ruin First Trips
- The Comfort Dial
- Pre-Departure Checklist
- Frequently Asked Questions
- Conclusion
What Backpacking Actually Means Now
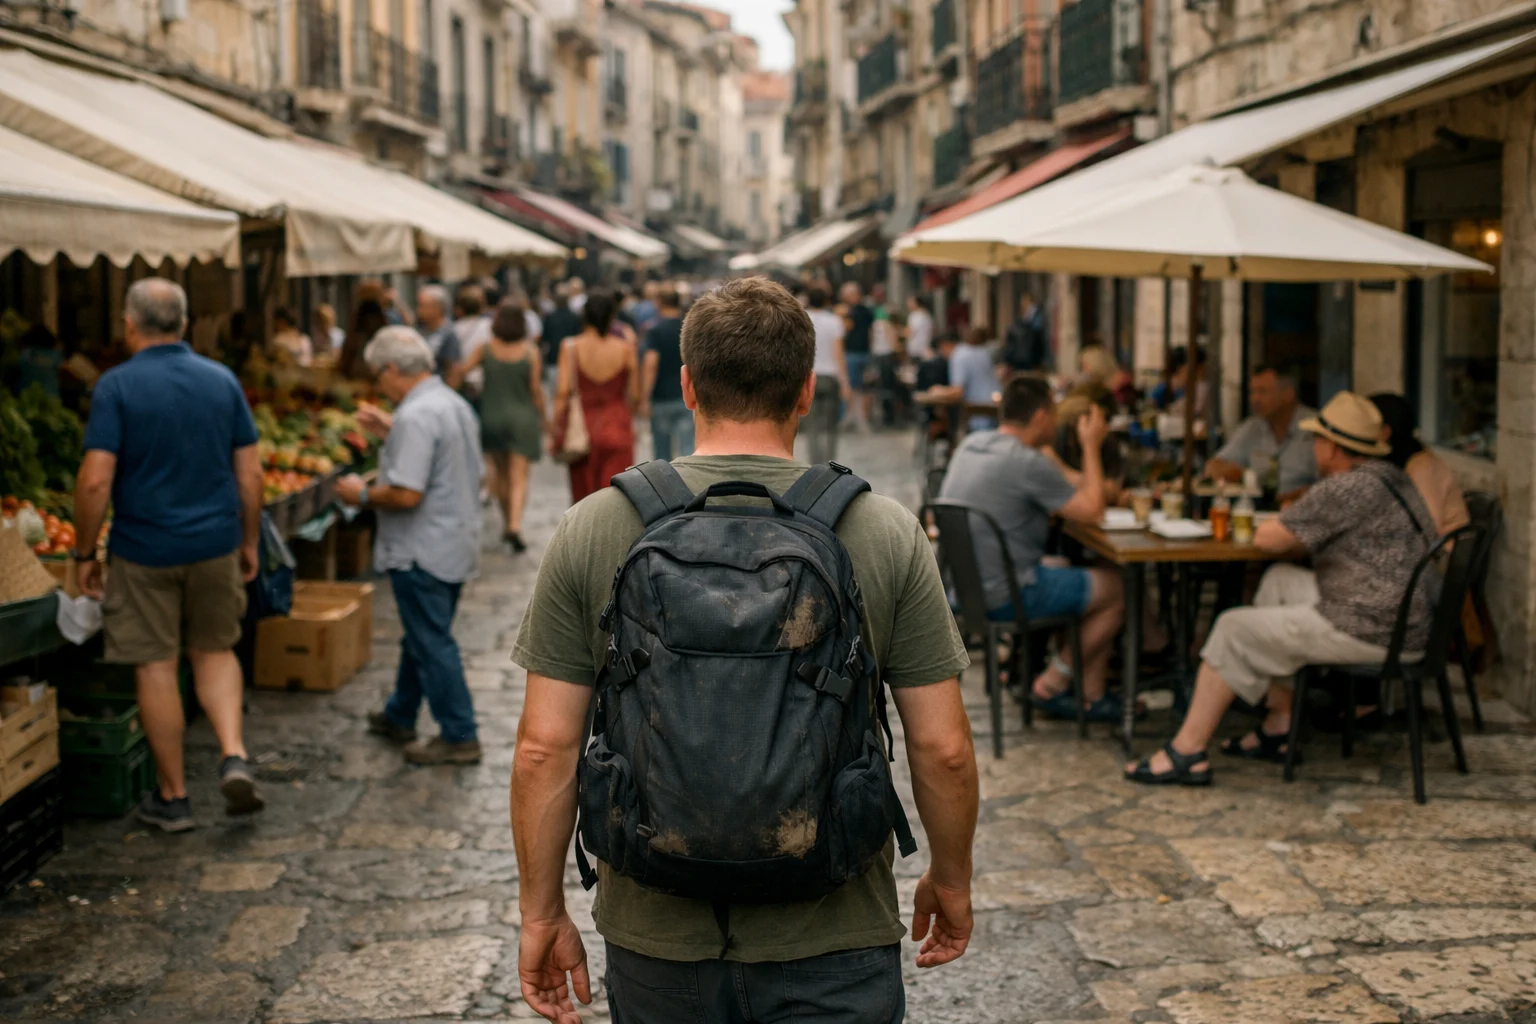
Let’s kill one myth immediately: backpacking doesn’t mean suffering. It doesn’t mean dorm rooms, overnight buses, and living off instant noodles. That’s one version — a perfectly valid one — but it’s not the only version, and it’s not what this guide is about.
Backpacking, at its core, means independent, multi-stop travel where you control the logistics. You choose where to go, when to move, and where to sleep. No tour group, no package itinerary, no resort bubble. That independence used to mean accepting real discomfort. It no longer does — the gap between “backpacker” and “comfortable independent traveler” has almost closed.
Private rooms in boutique guesthouses run $35–70 a night across most of Europe and Southeast Asia. High-speed trains are cheap and reliable. Apps have removed most of the friction that made solo travel stressful a decade ago. You can travel light, sleep well, move efficiently, and still spend less than a mid-range package holiday — what most people would call an affordable luxury vacation, without the resort bubble. Comfort isn’t a luxury upgrade — it’s a strategy.
Step 1: Build Your Trip Foundation
Pick one region, not a world tour
The most common backpacking tips for beginners focus on gear and packing lists — but the single biggest mistake first-timers make is trying to see too much. A 3-week itinerary covering 7 countries sounds exciting on paper and exhausting in practice. Pick one region (Southeast Asia, Western Europe, Central Europe, the Balkans) and go deeper into fewer places.
A good rule: one country per week, minimum. Two weeks in Portugal and Spain will give you more than two weeks trying to race through Portugal, Spain, France, Italy, and Croatia.
Set your trip length honestly
Two weeks is a solid first trip — long enough to settle into the rhythm, short enough to pace yourself without burning out. Three weeks is better if you have the time. The first few days always involve logistics friction; by day three or four you’re actually traveling. If you’re still figuring out how to plan a backpacking trip, start with region first — everything else (length, budget, pace) follows from that single decision.
The booking timeline that works
| What to book | When | Why |
|---|---|---|
| Flights (outbound + return) | 6–10 weeks out | Price sweet spot; you’re not locked in before you know your route |
| First night’s accommodation | 1–2 weeks before departure | Eliminates arrival-day chaos |
| High-demand nights (festivals, peak weekends) | 3–4 weeks out | Good places fill fast |
| Everything else | 1–3 days before each move | Preserves flexibility; rarely a problem outside peak season |
The biggest planning mistake beginners make is booking every single night before they leave. You end up locked into a rigid schedule that punishes you the moment you want to stay an extra day somewhere — or leave early. Here’s one of the most practical smart travel tips that most guides skip: lock in arrival night and high-demand nights only. Leave everything else open. The free toolkit’s Before You Book checklist sequences this whole pre-trip process in one place.
Use the free Before You Book checklist →Step 2: Build a Comfort-First Itinerary
The 3–4 night rule
Spend at least three nights in each place, ideally four. One-night stops feel like airport transits with better food. Two nights mean you spend half your time arriving and leaving. Three nights gives you one day to orient, one day to actually explore, and the flexibility to rest if you need it.
Moving every night is the single fastest path to burnout on a first trip.
Build in rest days
Plan one low-intensity day per week — a coffee shop, a slow walk, maybe a market. Nothing else. These feel wasteful when you’re planning at home — like you’re wasting a precious travel day. On the road they feel essential. I’ve had some of my best moments on rest days: a random conversation with a local, a neighborhood I’d never have found on a structured itinerary. Your decision-making and your enjoyment of each city both deteriorate when you’re running at full intensity every day.
Transit strategy
The comfort math on transit is simple — and it’s one of the most underrated first time backpacking tips. Under 3 hours: take whatever’s cheapest. Three to 6 hours: a train or bus with a proper seat is worth paying for. Over 6 hours overnight: a cheap flight often wins — you save a night’s accommodation cost and arrive rested instead of wrecked. Budget airlines in Europe (Ryanair, easyJet, Wizz Air) and Southeast Asia (AirAsia, Scoot) regularly run routes for $20–60. A $45 flight beats a $0 overnight bus if the bus costs you a recovery day.
Step 3: Accommodation Strategy
The old model was simple: backpackers stay in dorms. The real model is smarter than that.
| Option | Best for | Typical cost | Honest trade-off |
|---|---|---|---|
| Hostel dorm (4–6 bed) | Meeting people, budget nights, social atmosphere | $12–25/night | Shared bathrooms, noise, light — sleep quality varies |
| Hostel private room | Rest, solo travel, best-of-both | $35–65/night | Often still shared bathrooms; less social |
| Boutique guesthouse / small hotel | Recovery nights, arrival days, longer stays | $45–85/night | Less social scene; more consistent quality |
| Airbnb / apartment | 3+ nights, group travel, kitchen access | $40–90/night | No daily cleaning; more self-sufficient |
You don’t have to pick one mode and stick with it. Use dorms when you want to meet people or just need a cheap sleep. Use private rooms after a long travel day or when you need a proper night’s rest. Use a boutique guesthouse for your first night in each city — arrival days are stressful enough without adding accommodation uncertainty.
For the full playbook on comfort upgrades — from booking tactics to finding private rooms at hostel prices — see backpacking hacks for comfort upgrades.
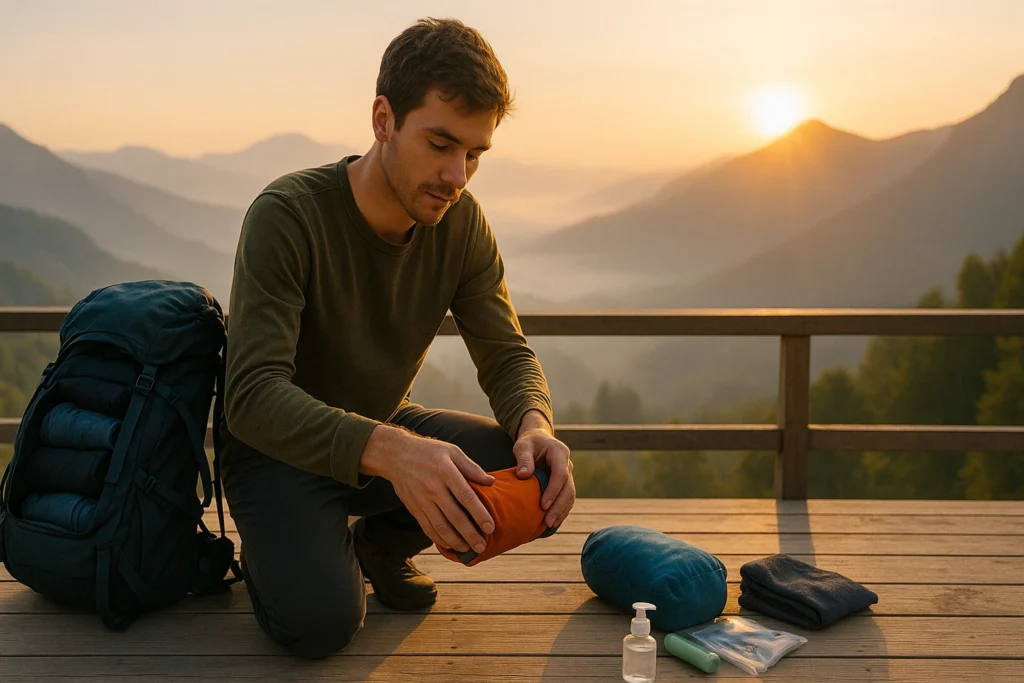
Step 4: Pack for Comfort, Not Minimalism Theater
Packing for backpacking isn’t about seeing how little you can bring. It’s about bringing exactly the right things — and nothing that doesn’t earn its weight. In my experience, every item I’ve regretted packing was something I brought “just in case” and never touched.
The only bag you need
For trips up to 3 weeks: a 35–45L backpack that fits as carry-on (most airlines: 40L max, ~10kg). Going bigger doesn’t give you more options — it gives you more weight to carry everywhere and baggage fees on budget airlines. See our picks for the best carry-on backpack for travel if you’re still deciding on a bag.
What actually goes in it
| Category | What to bring | What beginners always overpack |
|---|---|---|
| Clothes | 5–6 tops, 2–3 bottoms, 1 layer, 1 nicer outfit | 7+ outfits, multiple pairs of shoes, “just in case” items |
| Shoes | 1 comfortable walking shoe, 1 sandal or lightweight flat | 3 pairs (the heaviest items in any bag) |
| Toiletries | Travel-sized essentials; buy full sizes locally | Full-size bottles of everything, 2-week supply of products |
| Tech | Phone, universal adapter, power bank, earphones | Laptop (unless remote working), multiple chargers |
| Comfort upgrades | Packable daypack, eye mask, earplugs, microfibre towel | Bulky travel pillow, too many books |
| Docs | Passport, digital copies of everything, travel insurance card | Printed copies of every booking confirmation |
The laundry rule that changes everything: plan to wash every 5–7 days. Most guesthouses offer wash-and-fold for $3–7. This halves the clothes you need to pack. Most beginners pack for the full trip length, which is one of the biggest packing mistakes — you only need to pack for roughly half of it.
Before you leave, put your fully packed bag on and walk around for 20 minutes. If your shoulders ache or your balance feels off, take something out. You’ll carry this bag every time you move — sometimes up four flights of stairs.
If you want to go further — airline carry-on rules, packing cube systems, laundry logistics, what to leave at home — the what to pack for backpacking has the full breakdown.
Step 5: Budget Without Feeling Cheap
Daily budget estimates (per person, excluding flights)
| Budget level | Western Europe | Eastern Europe | Southeast Asia |
|---|---|---|---|
| Budget (dorms, street food, free sights) | $60–80 | $40–55 | $30–45 |
| Mid-range (private rooms, sit-down meals, some paid activities) | $90–130 | $60–80 | $50–75 |
| Comfort (boutique stays, 2 restaurant meals/day, skip nothing) | $140–180 | $90–120 | $80–110 |
Estimates based on 2025–2026 pricing — verify current costs before planning.
Where to spend more (it changes the trip)
- First night’s accommodation — you’re tired and disoriented; pay for a private room
- Sleep quality — a bad night’s sleep compounds across a trip faster than almost any other variable
- One standout meal per city — this is what you’ll actually remember
- Transit on long journeys — the $45 flight vs the $0 overnight bus (see Step 2)
Where it genuinely doesn’t matter
- Midday meals — local markets and lunch menus are often better and cheaper than dinner
- Coffee and snacks — buy from supermarkets, not cafes, when you’re just fueling
- Souvenirs — give yourself a $30 budget and stick to it
Hidden budget drains to watch
- ATM fees — use a fee-free card (Revolut, Wise, Charles Schwab) and withdraw larger amounts less often
- Checked baggage — budget airlines charge $25–60 per bag; staying carry-on only eliminates this entirely
- Taxis from airports — research the train or shuttle option before you land, not after
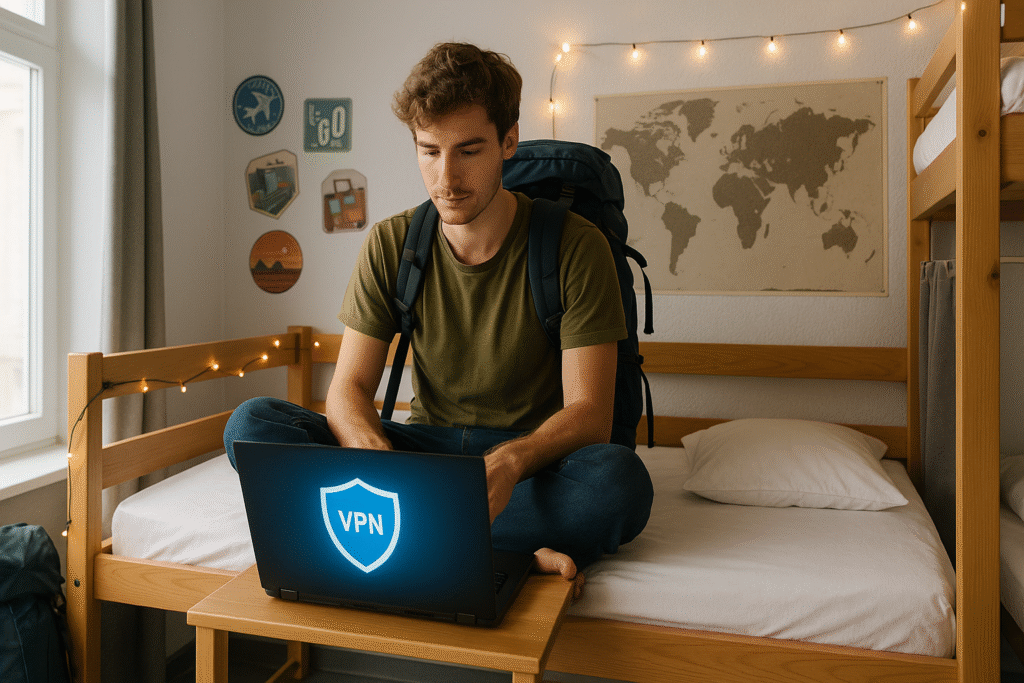
- Roaming charges — get a local SIM or eSIM on arrival ($5–15 for a week of data in most countries); never rely on your home carrier’s international rates
Backpacking Comfort Calculator
Select your region, trip length, and comfort level to estimate your daily and total budget.
Beginner Mistakes That Quietly Ruin First Trips
Mistake 2 — Packing for the worst case. “What if it’s cold?” “What if I need something formal?” You pack for scenarios that never happen and carry 15kg as a result. Pack for the most likely conditions. If the unlikely happens, buy a $12 layer locally.
Mistake 3 — No buffer day before flying home. Don’t schedule a flight the morning after your last night out. One travel delay, one rough stomach, one bad night’s sleep compounds badly when you have a plane to catch. Give yourself a buffer.
Mistake 5 — No cash buffer. Cards fail. ATMs run out on weekends in smaller towns. Always carry the local equivalent of $50–80 in cash — not for spending, but for the moment your card doesn’t work and you need a taxi, a hostel, or dinner.
Mistake 6 — Planning every hour. Over-scheduled itineraries collapse the moment one thing goes wrong — and one thing always goes wrong. Leave 30–40% of each day unplanned. The best moments of most trips happen in that unscheduled space.
The Comfort Dial
Every decision on a backpacking trip can be run through one filter: does the upgrade here actually change my experience, or am I just spending more to feel like I’m doing it right?
Here’s the framework I use on every trip — the categories where spending more consistently delivers, and where it genuinely doesn’t.
| ✅ Spend more — it changes the trip | 💡 Save — it doesn’t change the trip |
|---|---|
| Sleep quality (private room, noise-free hostel) | Daytime meals (local markets, lunch menus) |
| First night in each city | Mid-trip accommodation on settled nights |
| Overnight transit (fly vs overnight bus) | Souvenirs and tourist shops |
| One standout meal per city | Airport transport (research ahead; train usually works) |
| Travel insurance (don’t cheap out here) | Most tourist activities (free versions often better) |
| Bag quality (you carry this every single day) | Branded toiletries (buy locally) |
Use this on every trip, every destination. The categories stay the same — only the price points change by region.
Pre-Departure Checklist
- Flights booked (outbound + return)
- First night’s accommodation confirmed in each city
- Passport valid for 6+ months beyond return date
- Travel insurance purchased (check medical + cancellation cover)
- Bag packed and tested — carried for 20 minutes
- Fee-free debit/travel card set up (Revolut, Wise, or equivalent)
- Local SIM or eSIM researched for first destination
- Digital copies of passport + insurance stored in email or cloud
- $50–80 equivalent in local cash for arrival
- Offline maps downloaded (Google Maps, Maps.me)
- Rest day scheduled in week one
- Travel advisories checked for your destination (travel.state.gov)
Frequently Asked Questions
Conclusion
Good backpacking tips for beginners aren’t about packing lighter or spending less — they’re about removing the friction that turns an independent trip into an exhausting one. Lock in your first nights, build in rest, use the Comfort Dial to make spending decisions, and leave room for the unplanned. When you’re ready to sort your kit, start with what to pack for backpacking — the full minimalist list. The rest you’ll figure out on the road.
Some links on this site may be affiliate links and may earn a small commission at no extra cost to you. All recommendations are based on personal use and fit for this travel style.